Strawberry jam is one of those delightful kitchen creations that brings the essence of summer into every jar. With its vibrant color and sweet flavor, it offers a burst of freshness that can enhance your breakfast or elevate any dessert. Making strawberry jam at home is not only simple but also incredibly rewarding. You can enjoy the satisfaction of creating something delicious from scratch, while also controlling the ingredients and customizing the flavors to suit your taste.
In this guide, we will take you through the process of making your very own strawberry jam. You’ll learn about the essential ingredients needed to achieve that perfect balance of sweetness and tartness. We will provide clear and concise instructions that are easy to follow for both novice cooks and experienced chefs. Whether you’re looking to preserve strawberries from your garden or simply want to enjoy this classic spread year-round, this recipe is perfect for you.
By the end of this article, you will be equipped with all the tips and tricks necessary for making strawberry jam that rivals store-bought options. So gather your ingredients and get ready to delight your friends and family with jars of homemade goodness!
Main Ingredients
Strawberries
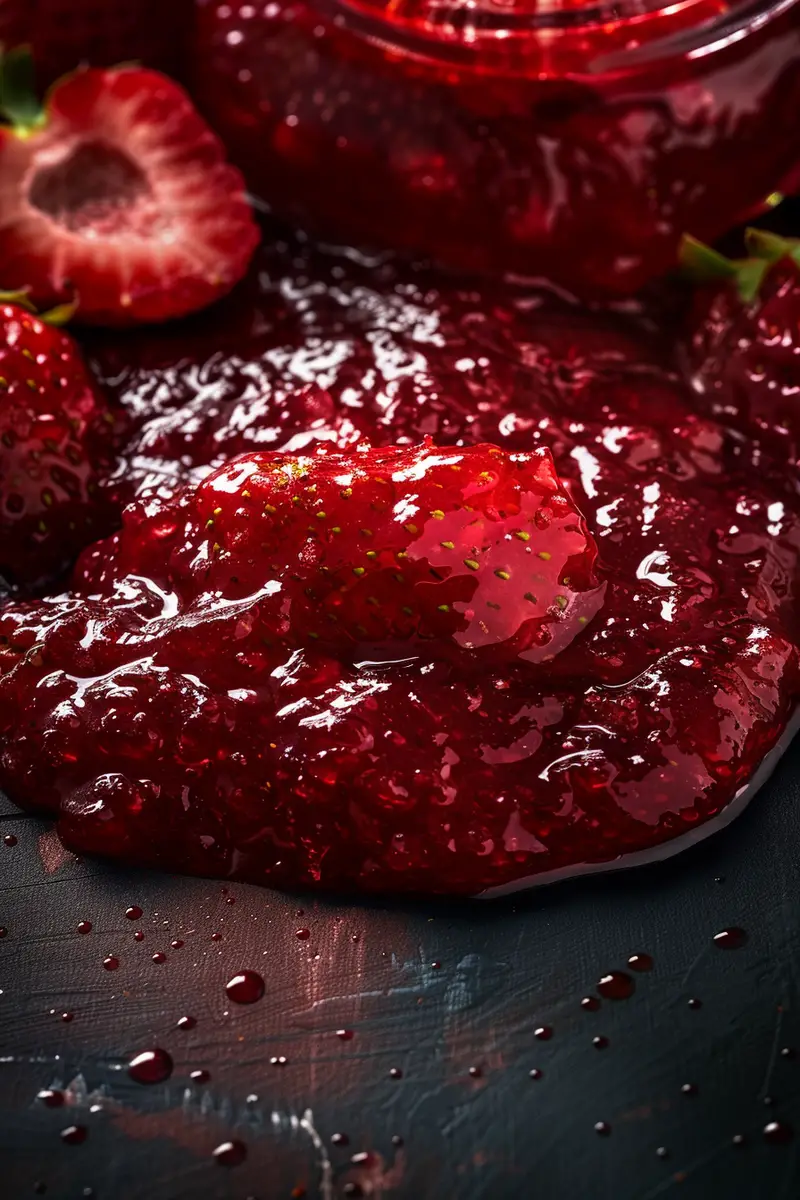
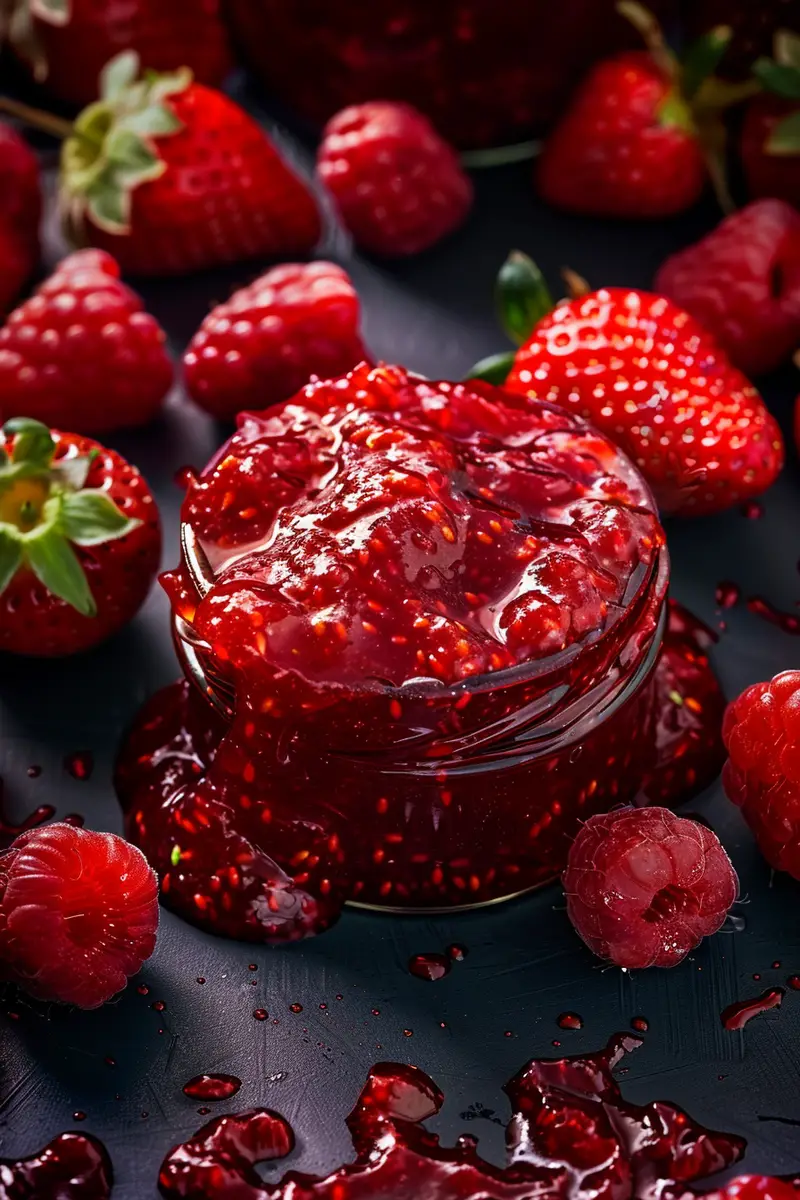
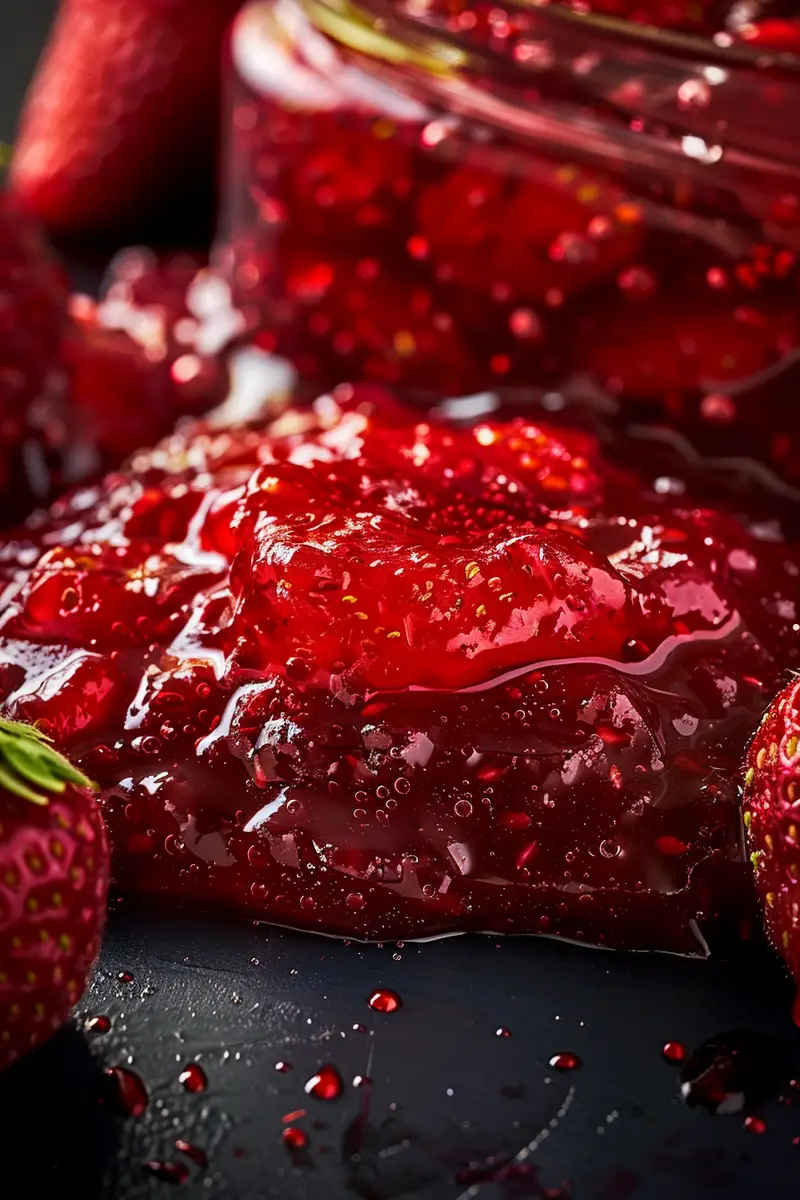
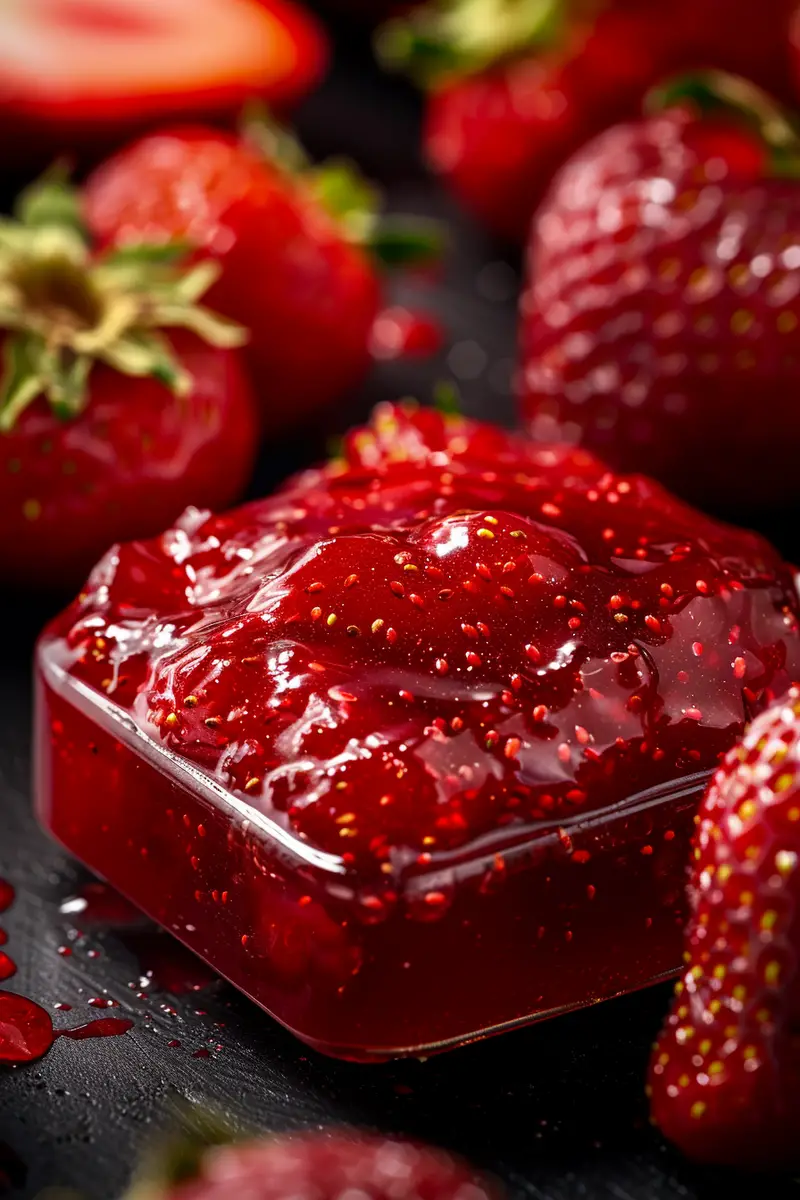
Fresh strawberries are the star ingredient in your strawberry jam. You’ll need about 2 pounds of ripe strawberries to create approximately four cups of jam. It’s crucial to choose berries that are in season for the best flavor; look for deep red berries with no soft spots or blemishes. Wash them thoroughly under cold water and remove the stems before chopping them into smaller pieces.
Sugar
Granulated sugar is essential for sweetness and acts as a preservative in your homemade jam. For this recipe, you’ll need approximately 4 cups of sugar, which may seem like a lot but is vital to achieving that classic jam consistency and flavor. The sugar helps to balance out the tartness of the strawberries while also aiding in gelling when combined with pectin during cooking.
Pectin
Pectin is a natural thickening agent found in fruits that helps your jam set properly. You can use either liquid or powdered pectin based on what you have available; most recipes call for about 1 package (1.75 oz) of powdered pectin for every 4 cups of prepared fruit mixture. Using pectin ensures a firmer consistency without having to cook down the fruit excessively, which helps maintain its fresh taste.
Lemon Juice
Freshly squeezed lemon juice brightens up the flavors in your strawberry jam while providing acidity necessary for preservation. You’ll need about 1/4 cup of lemon juice—roughly two medium lemons—to enhance both flavor and texture. The acidity from lemon juice also helps activate the pectin, ensuring a proper set without overly cooking the strawberries.
Water
Water is used primarily to dissolve pectin before adding it to your fruit mixture. You’ll need about 1 cup of water for this purpose. It’s important not to skip this step as it prevents clumping while mixing pectin with other ingredients.
How to Prepare Strawberry Jam
Step 1: Prepare Your Ingredients
Start by washing all your strawberries under cold water. Remove any stems and leaves before slicing them into smaller pieces—this will help release their juices more effectively during cooking. Measure out your sugar into a separate bowl so it’s ready when needed, along with your lemon juice and pectin.
Step 2: Cook Strawberries
In a large pot over medium heat, combine the chopped strawberries with half of your measured sugar (about 2 cups). Stir gently until mixed well. Let this mixture sit for about 10-15 minutes; this allows the strawberries to macerate and release their natural juices. Afterward, place the pot over medium-high heat and bring it to a boil while stirring frequently.
Step 3: Add Pectin
Once boiling vigorously (the mixture should bubble rapidly), add in your prepared pectin (mixed in water if using powdered). Continue stirring consistently as you bring it back up to a full rolling boil that cannot be stirred down; this usually takes around one minute after adding pectin.
Step 4: Incorporate Remaining Sugar
After achieving a full boil again, quickly add in the remaining sugar along with lemon juice—stirring constantly until it reverts back into another rolling boil lasting at least one minute. Make sure everything dissolves completely before removing from heat.
Step 5: Test Consistency
To ensure you’ve reached the right consistency for spreading later on: drop a spoonful onto a cold plate (chilled beforehand) then tilt it slightly; if it holds shape without running off too quickly—that’s perfect! If not quite set yet? Return pan onto heat briefly longer before repeating testing again until satisfied.
Serving and Storing Tips
Serving Suggestions
Homemade strawberry jam pairs beautifully with various dishes! Spread it generously over warm toast or freshly baked scones for breakfast—a classic way many enjoy their morning meal! It also works wonders alongside pancakes or waffles drizzled atop yogurt bowls as part delicious brunch spreads served during gatherings too!
For dessert lovers wanting something special without much effort? Use strawberry jam as an ingredient inside tarts layered between pastry crusts topped whipped cream! Alternatively serve alongside cheese platters—its sweetness balances wonderfully against savory cheeses like brie or goat cheese giving guests delightful combinations they won’t forget!
Storage Guidelines
To store properly once cooled down completely post-canning method described earlier—it’s vital keep jars sealed tightly while placing them upright in pantry away sunlight exposure direct heat sources! This ensures longevity freshness maintains optimal flavor around six months stored correctly without any spoilage risks arising prematurely!
If opened after enjoying some—you can transfer leftover portions into smaller containers refrigerate consume within three weeks keeping lid secure tightly prevents air exposure prolongs lifespan even more! Just remember always check appearance smell taste each time before diving back into jar fun filled fruity goodness explore endless possibilities using delicious homemade strawberry jams today!
Mistakes to avoid
One common mistake when making strawberry jam is using underripe strawberries. Underripe fruit lacks the natural sugars needed for a great flavor and proper gelling. Always choose ripe, juicy strawberries; they should be bright red and fragrant. This will ensure your jam has the sweetness and taste you desire.
Another mistake is not measuring the ingredients accurately. When making strawberry jam, precise measurements are crucial for achieving the right consistency. Too much sugar can result in an overly sweet or syrupy texture, while too little can cause your jam to remain runny. Invest in a reliable kitchen scale or measuring cups to ensure accuracy.
Failing to sterilize jars properly before filling them with jam can lead to spoilage. It’s essential to clean and sterilize your jars in boiling water or a hot dishwasher cycle. This process removes bacteria that could cause your jam to go bad quickly. After sterilization, allow jars to cool before adding your delicious strawberry jam.
Using low-quality pectin is another mistake that can ruin the final product. Pectin is essential for achieving the desired thickness in your homemade strawberry jam. Always opt for high-quality pectin products and follow the instructions on the package carefully for best results.
Lastly, neglecting to test the gel stage can lead to runny jam. The gel stage is crucial for ensuring that your jam sets correctly. To test this, place a spoonful of hot jam on a cold plate and let it sit for a moment. Run your finger through it; if it holds its shape, you’ve reached the right stage. If it runs back together, continue cooking until you achieve the correct consistency.
Tips and tricks
To make perfect strawberry jam, start by selecting the freshest strawberries possible. Look for organic options if available, as they usually have better flavor compared to conventionally grown ones due to fewer chemicals being used in their cultivation process.
When preparing strawberries, always remove any stems and leaves before rinsing them gently under cold water. This step helps prevent excess moisture from diluting your jam’s flavor. After washing, dry them thoroughly with a paper towel or cloth before chopping them into smaller pieces.
Use a heavy-bottomed pot when cooking your strawberry mixture; this prevents burning and ensures even heat distribution throughout cooking time. A heavy pot allows better caramelization of sugars, enhancing the overall flavor profile of your strawberry jam.
While cooking, keep stirring regularly to prevent sticking and burning at the bottom of the pot. Stirring also helps incorporate air into the mixture, which promotes better gelling of pectin as it cooks down.
Consider adding lemon juice or zest during cooking for an exquisite tanginess that balances out sweetness in your strawberry jam recipe perfectly. The acidity from lemons enhances flavor while also helping with preservation.
Lastly, don’t rush the cooling process after you’ve filled your jars with hot strawberry jam! Allow them to cool completely at room temperature before storing them in a cool pantry or refrigerator—this ensures longevity while maintaining quality flavors over time.
Suggestions for Strawberry Jam
When making strawberry jam, consider experimenting with additional fruits like raspberries or blueberries for unique flavor combinations that elevate traditional recipes. Mixing different berries can create delightful jams that appeal to various palates while still keeping strawberries as the base ingredient.
Adding herbs such as basil or mint can enhance your strawberry jam’s freshness and complexity significantly. Infusing these herbs during cooking adds an unexpected twist that surprises those who enjoy trying new flavors while still appreciating classic options.
If you’re concerned about sugar content but still want a sweet outcome, consider using natural sweeteners like honey or agave syrup as substitutes instead of granulated sugar! These alternatives provide distinct flavors alongside potential health benefits without sacrificing taste entirely.
For those looking for added texture in their jams, try incorporating nuts such as chopped almonds or walnuts after cooking has finished cooling down slightly—this will provide crunchiness against soft fruit while creating exciting contrasts within each bite!
To further improve shelf life without compromising taste quality too much over time; experiment with reducing pectin levels if you prefer less thick consistency—that way you won’t need as much sugar either! This method allows more genuine fruity essence within every jar produced!
Lastly; make sure not only to label but also date any jars containing homemade strawberry preserves—this simple act helps track freshness throughout storage periods ensuring enjoyment occurs within optimal time frames!
FAQs
What is the best way to store homemade strawberry jam?
Storing homemade strawberry jam properly ensures its longevity and freshness over time. After sealing jars tightly once cooled completely at room temperature (usually around 24 hours), store them in a cool dark area like a pantry where temperatures remain stable below 75°F (24°C). Avoid placing jars directly under sunlight or near heat sources since these conditions may degrade quality faster than usual! Once opened though—refrigerate immediately; use within one month for optimal taste retention!
How can I tell if my strawberry jam has gone bad?
There are several signs indicating whether homemade strawberry jam has spoiled over time! First look closely at both color changes (such as darkening) along with mold formation atop surface layers—these signals indicate bacterial growth likely occurred during storage phases… Additionally check odors: any sour smells suggest fermentation processes have taken place rendering product unsafe! Always trust your instincts: when unsure whether something appears safe—you’re better off discarding rather than risking health-related issues!
Can I use frozen strawberries for making jam?
Absolutely! Frozen strawberries work exceptionally well when crafting delicious homemade jams since they retain most nutrients even after thawing out completely beforehand! Simply allow thawed berries enough time until fully defrosted then proceed according recipe instructions without altering proportions significantly—this approach saves valuable preparation efforts while still yielding fantastic results!
Is it necessary to add pectin when making strawberry jam?
While traditional recipes often recommend adding commercial pectin products during preparation stages—it isn’t strictly necessary depending on desired consistency preferences! Some individuals opt not using any form whatsoever instead relying solely upon natural sugars present within ripe fruits themselves allowing mixtures thicken naturally via evaporation methods… However bear in mind longer cooking times might lead altered textures than expected!
Can I substitute other fruits in my strawberry jam recipe?
Certainly! Many people love experimenting by incorporating different fruits alongside strawberries creating unique combinations suited toward personal tastes/preferences… Popular choices include blueberries raspberries peaches apricots even citrus zests providing flavorful twists enhancing overall culinary experiences enjoyed throughout each season depending available produce local markets offer year-round!
How long does homemade strawberry jam last?
Homemade versions typically last up 1 year unopened stored adequately while remaining potent flavors intact provided proper sealing techniques followed diligently upon creation sessions completed successfully… Once opened however refrigeration required extending shelf life further allowing consumption safely over next month maximum timeframe although favors begin diminishing beyond this point gradually losing robust characteristics initially recognized upon first tasting experiences shared among loved ones gathered around table together enjoying moments created through culinary adventures embarked upon previously!
Conclusion
In summary, creating delectable strawberry jam involves careful attention to detail from selecting ripe fruit down through finishing touches applied during storage processes following completion stages successfully achieved along journey embarked upon crafting sweet indulgences enjoyed by many across various occasions shared together! Avoid common pitfalls such as using underripe berries or neglecting sterilization methods which could compromise overall quality experienced throughout tastings conducted subsequently thereafter… By implementing helpful tips—including choosing fresh ingredients utilizing proper equipment understanding techniques involved—you’ll find yourself developing skills necessary towards perfecting this beloved preserve style treat capable bringing joy into all who partake savoring delightful creations made lovingly at home through efforts invested wholeheartedly consistently showing care taken each step along way toward accomplishing delicious outcomes every single time without fail!
Print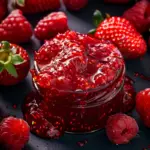
Strawberry Jam
Ingredients
- 4 cups fresh strawberries, hulled and crushed
- 2 cups granulated sugar
- 2 tablespoons lemon juice
Instructions
- Prepare the Strawberries: Wash, hull, and crush the strawberries. Measure out 4 cups of crushed strawberries.
- Cook the Strawberries: In a large pot, combine the crushed strawberries, granulated sugar, and lemon juice.
- Bring to a Boil: Place the pot over medium heat and bring the mixture to a boil, stirring frequently.
- Simmer: Reduce the heat to low and let the mixture simmer, stirring occasionally, until it thickens and reaches the desired consistency. This usually takes about 45 minutes to 1 hour.
- Test for Doneness: To test if the jam is ready, place a small spoonful on a chilled plate. If it thickens and wrinkles when you push it with your finger, it’s done.
- Can the Jam: Carefully ladle the hot jam into clean, sterilized jars, leaving about 1/4 inch of space at the top. Wipe the jar rims to ensure they’re clean and seal the jars with lids.
- Process the Jars: If you’re planning to store the jam for a longer period, you can process the sealed jars in a water bath canner for about 10 minutes to ensure proper sealing.
- Cool and Store: Allow the jars to cool at room temperature. As they cool, you may hear the satisfying “pop” sound, indicating that the lids have sealed properly. Store the jam in a cool, dark place.