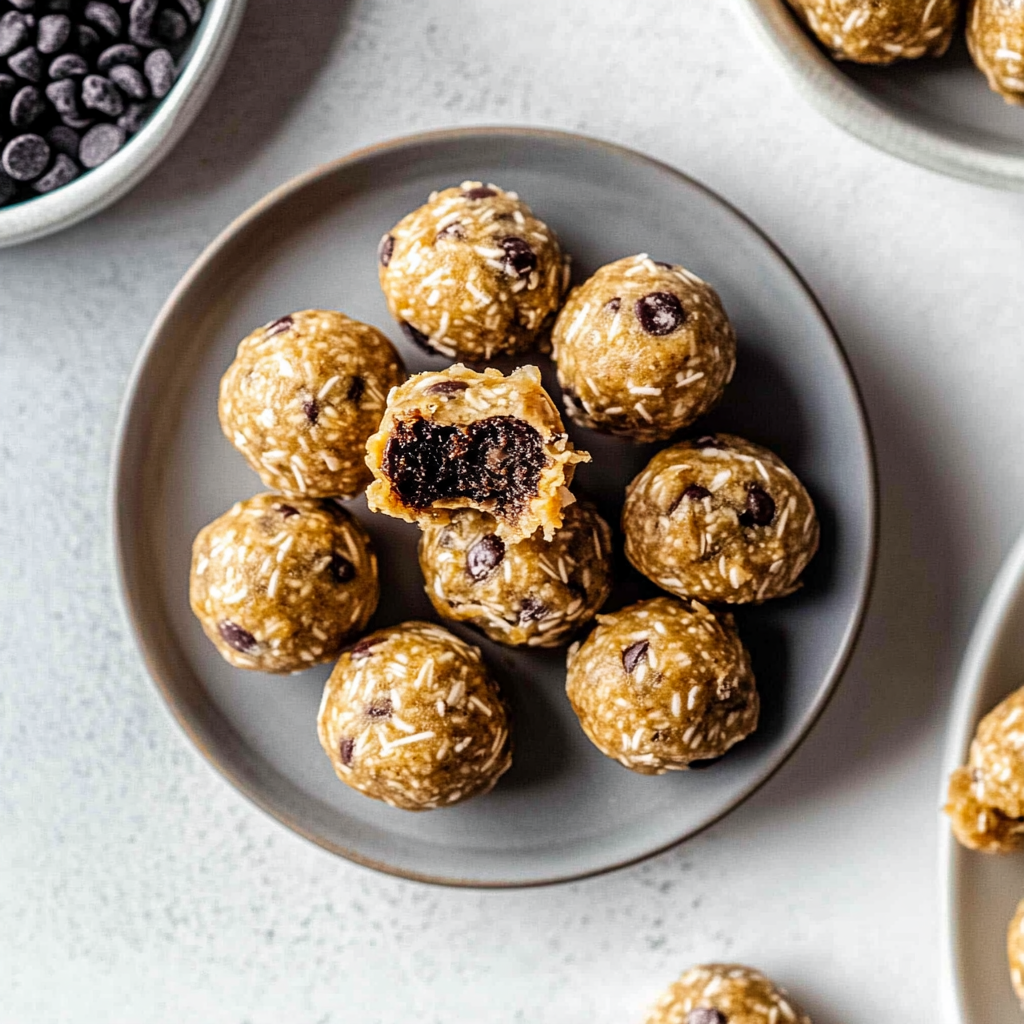
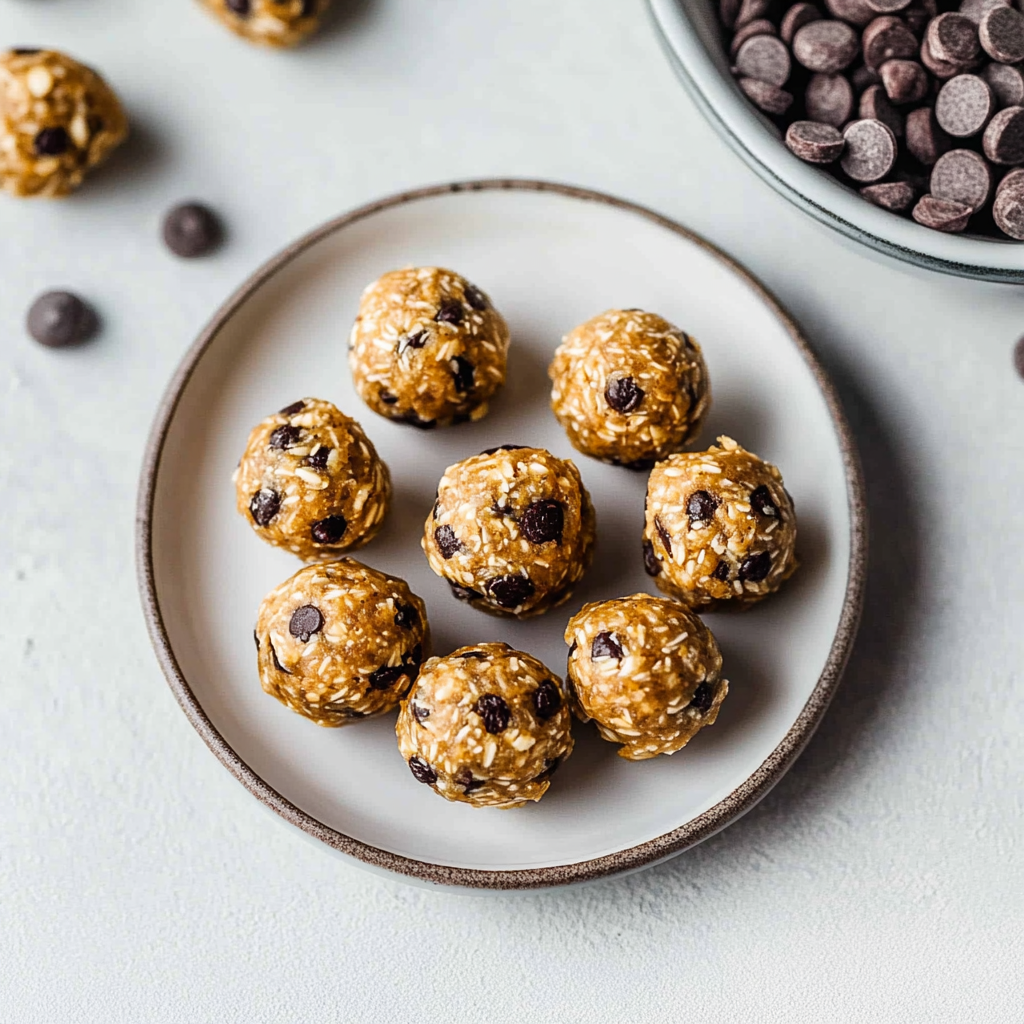
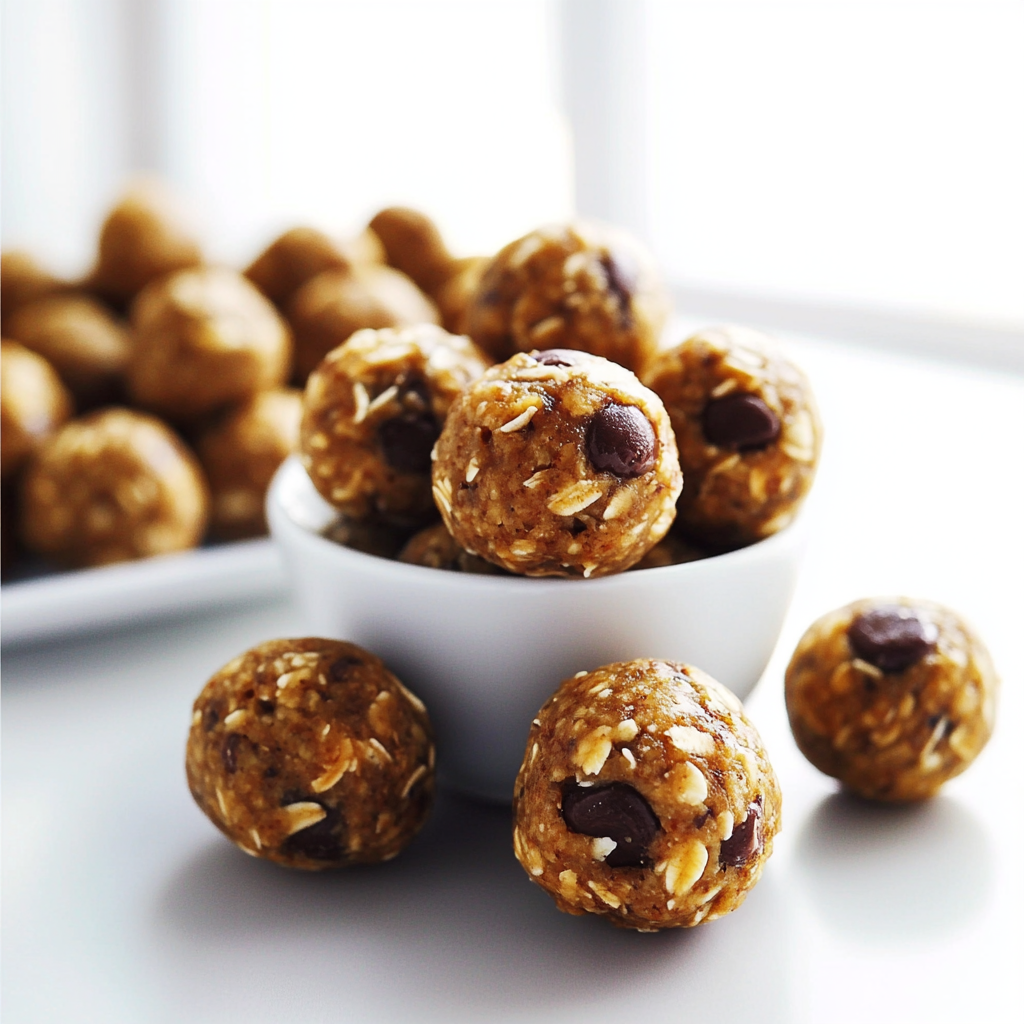
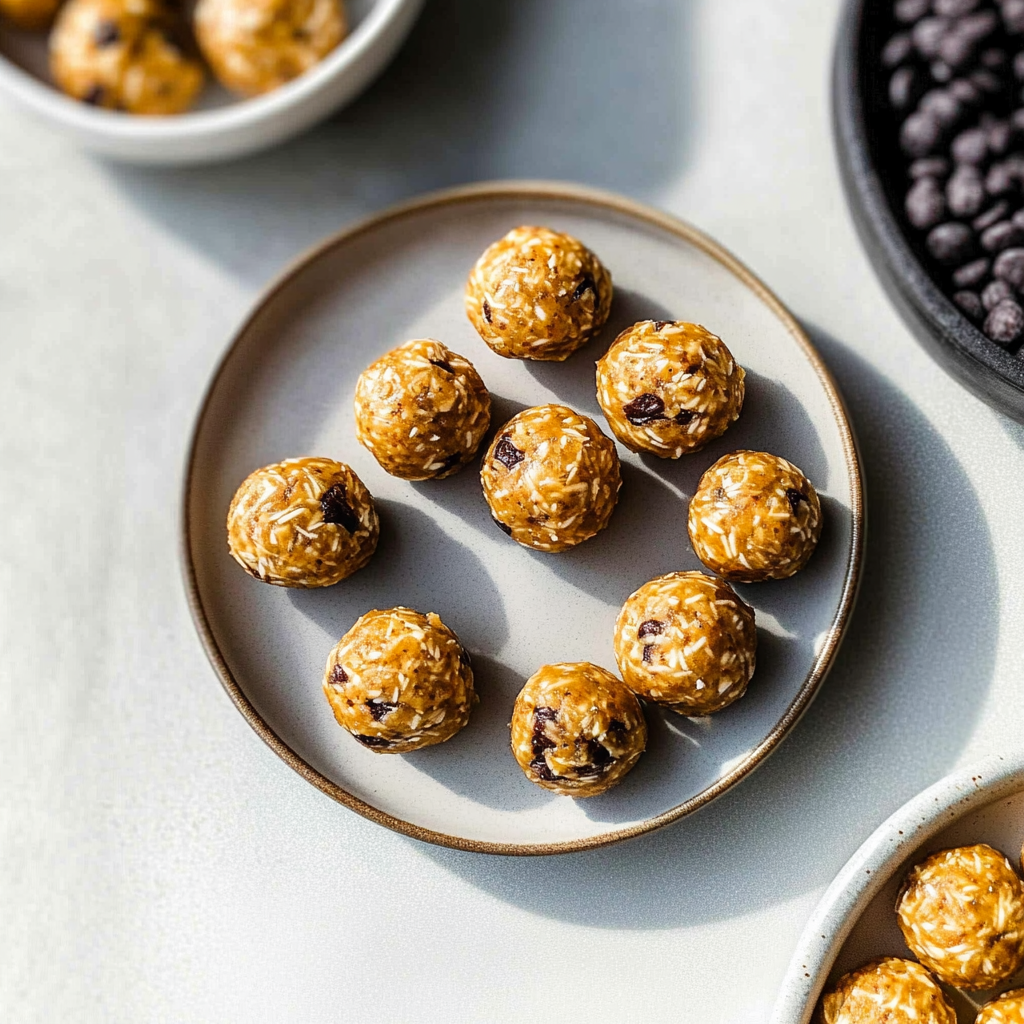
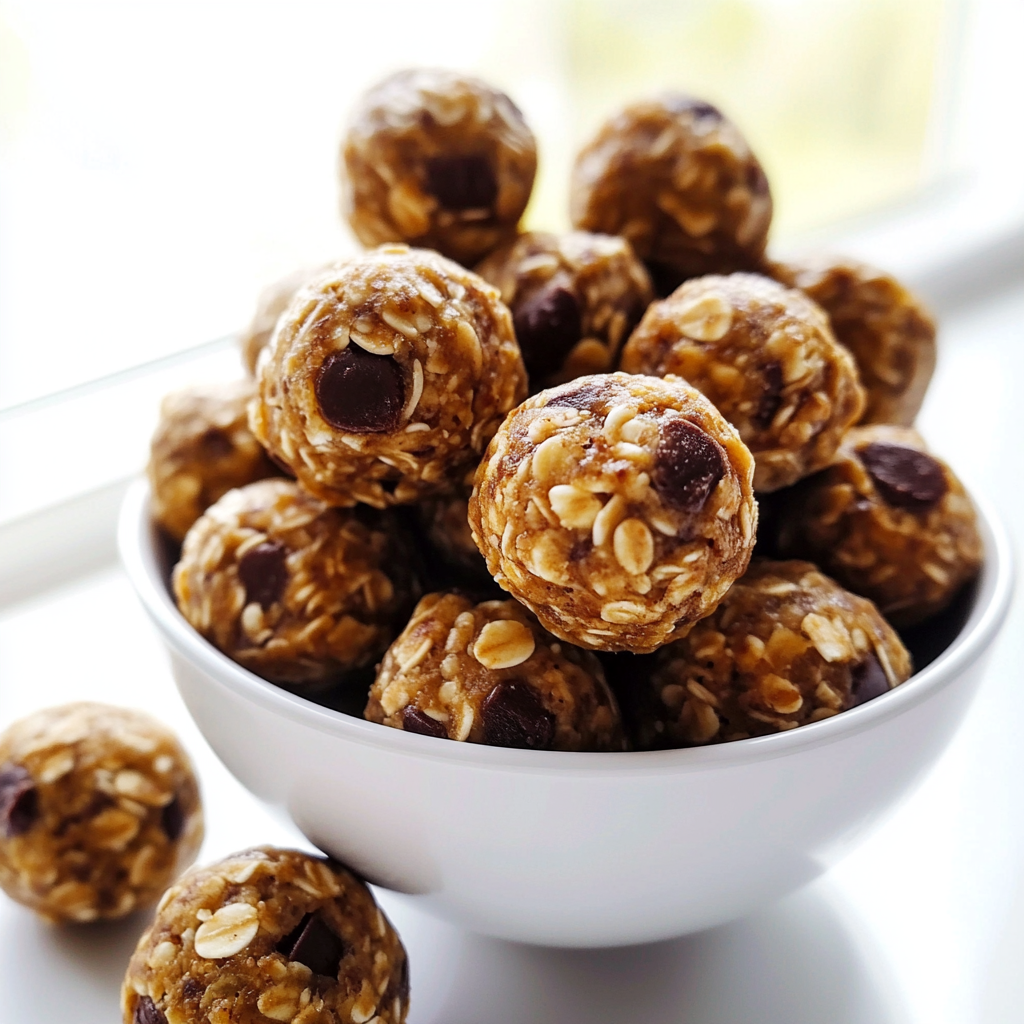
If you’re looking for a quick and nutritious snack that requires zero baking, these Protein Balls (No Bake Energy Balls) are a game-changer! These delightful little treats pack a punch of protein and energy, making them perfect for pre- or post-workout fuel or simply as a tasty pick-me-up throughout the day. Made with wholesome ingredients like oats, nut butter, and honey, you can whip up a batch in just minutes. Plus, they are customizable to suit your taste preferences or dietary needs—add chocolate chips for sweetness or substitute with your favorite nut butter! With each bite delivering both flavor and nutrition, you’ll find yourself reaching for these energy balls time and time again. In this article, we’ll explore the benefits of these easy-to-make snacks and provide step-by-step instructions to create your own batch at home.
Why You’ll Love This Protein Balls (No Bake Energy Balls)
- Quick and Easy: Minimal prep time and straightforward steps make this recipe stress-free, even for novice cooks
- Flavorful and Versatile: Enjoy outstanding flavor with ingredients you can easily customize by adding your favorites or adjusting spices
- Nutrient-Dense Snack: Packed with wholesome ingredients such as oats and nut butter, these energy balls provide essential nutrients without the excess sugar
- Perfect for Meal Prep: Prepare a large batch ahead of time to have healthy snacks ready whenever hunger strikes
Ingredients for Protein Balls (No Bake Energy Balls)
Here’s what you’ll need to make this delicious dish:
- Rolled Oats: Use old-fashioned rolled oats for the best texture; they provide a hearty base that is also rich in fiber.
- Nut Butter: Choose your favorite type—peanut butter, almond butter, or cashew butter work well; ensure it’s natural without added sugars.
- Honey or Maple Syrup: Acts as a binding agent while adding sweetness; maple syrup can be used as a vegan alternative.
- Chia Seeds: These tiny seeds add omega-3 fatty acids and help bind the mixture together while providing an extra nutritional boost.
- Chocolate Chips: Optional but highly recommended; use dark chocolate chips for added richness or dairy-free options if needed.
The full ingredients list, including measurements, is provided in the recipe card directly below.
How to Make Protein Balls (No Bake Energy Balls)
Follow these simple steps to prepare this delicious dish:
Step 1: Gather Your Ingredients
Start by measuring out all your ingredients so everything is ready to go. This will streamline the process and ensure you don’t miss anything.
Step 2: Mix the Dry Ingredients
In a large mixing bowl, combine rolled oats, chia seeds, and chocolate chips if using. Stir until evenly mixed.
Step 3: Add Wet Ingredients
Next, add the nut butter and honey (or maple syrup) to the dry mixture. Use a spatula or spoon to mix everything together until fully combined.
Step 4: Form the Balls
Once well mixed, take small portions of the mixture and roll them into bite-sized balls using your hands. Aim for about one inch in diameter.
Step 5: Chill in Refrigerator
Place the rolled protein balls onto a parchment-lined baking sheet. Refrigerate them for at least one hour to help them firm up.
Step 6: Serve and Enjoy
After chilling, transfer them to an airtight container. Enjoy your homemade protein balls as a quick snack whenever you need an energy boost!
Tips and Tricks
Here are some helpful tips to ensure the best results for your dish:
- Customize Flavors: Feel free to experiment with different mix-ins such as dried fruits or nuts for added texture.
- Storage Tips: Keep your protein balls in an airtight container in the refrigerator where they can last up to two weeks.
- Easier Rolling: If the mixture is too sticky when rolling into balls, wet your hands slightly to make it easier.
How to Serve Protein Balls (No Bake Energy Balls)
This Protein Balls (No Bake Energy Balls) is versatile and pairs wonderfully with:
- Fruit Smoothie: A refreshing drink that complements the rich, nutty flavors of the protein balls.
- Yogurt Parfait: Layers of creamy yogurt and fresh fruit enhance the texture and taste experience.
- Nut Butter Spread: Adds an extra layer of protein and flavor that pairs beautifully with the energy balls.
Feel free to pair it with your favorite sides for a personalized meal!
Make Ahead and Storage
- Make Ahead: Prepare the Protein Balls (No Bake Energy Balls) up to three days in advance. Mix all ingredients thoroughly, then form into balls. Store them in an airtight container in the refrigerator for easy access.
- Storing: Keep leftovers stored in an airtight container in the fridge for up to one week. For longer storage, freeze them individually wrapped in plastic wrap, then place them in a freezer-safe bag for up to three months.
- Reheating: If you prefer your protein balls warm, simply microwave them for about 10-15 seconds. This helps maintain their soft texture while enhancing their flavors without cooking them.
FAQs for Protein Balls (No Bake Energy Balls)
What are Protein Balls (No Bake Energy Balls)?
Protein balls, also known as no bake energy balls, are a convenient and nutritious snack option. They typically combine ingredients like nut butter, oats, protein powder, honey, and various mix-ins such as chocolate chips or dried fruits. The beauty of these energy balls lies in their simplicity; you mix the ingredients together and refrigerate them until firm. This no-bake approach means you can whip up a batch without turning on the oven. They offer a quick source of energy and protein, making them perfect for pre-workout snacks or mid-afternoon pick-me-ups.
How do I store Protein Balls (No Bake Energy Balls)?
To keep your protein balls fresh, store them in an airtight container in the refrigerator. Proper storage helps maintain their texture and flavor. They can last up to a week in the fridge. If you want to keep them longer, consider freezing them. Simply place the balls in a freezer-safe container or bag, separating layers with parchment paper to prevent sticking. When you’re ready to enjoy one, just take it out and let it thaw for about 10 minutes at room temperature.
Can I customize my Protein Balls (No Bake Energy Balls)?
Absolutely! One of the best features of protein balls is their versatility. You can adjust the ingredients based on your dietary preferences or what you have on hand. Swap out peanut butter for almond butter if you prefer a different nut flavor or use gluten-free oats for a gluten-free version. You can also add seeds like chia or flaxseed for extra nutrition or incorporate spices such as cinnamon or vanilla for added flavor. Feel free to experiment with different nuts or dried fruits to find your favorite combination.
Are Protein Balls (No Bake Energy Balls) healthy?
Yes, protein balls can be a healthy snack option when made with wholesome ingredients. They provide a good balance of macronutrients: carbohydrates from oats, healthy fats from nut butter, and protein from protein powder or seeds. These energy balls are also rich in fiber, which aids digestion and keeps you feeling full longer. However, be mindful of portion sizes and sugar content if you’re using sweeteners like honey or maple syrup. It’s all about balance!
Can children eat Protein Balls (No Bake Energy Balls)?
Protein balls are generally safe and nutritious for children as long as there are no allergies to the ingredients used. They make a great snack after school or during sports activities because they provide both energy and protein needed for growth and development. Involve your kids in the preparation process; they will love mixing the ingredients together! Just ensure that any nuts or seeds are age-appropriate to avoid choking hazards.
How long does it take to make Protein Balls (No Bake Energy Balls)?
Making protein balls is quick and easy! The preparation time usually takes about 10-15 minutes. Simply mix all the ingredients in a bowl until well combined. After that, roll them into bite-sized balls and refrigerate for at least 30 minutes to allow them to firm up properly before enjoying them. This makes it an excellent choice for busy individuals looking for a nutritious snack without spending much time in the kitchen.
Conclusion for Protein Balls (No Bake Energy Balls)
In summary, protein balls (no bake energy balls) serve as an excellent snack option packed with nutrients that boost your energy levels throughout the day. Their easy preparation allows anyone to whip up these tasty treats quickly while providing endless opportunities for customization based on personal taste preferences and dietary restrictions. With proper storage techniques, you can enjoy these snacks fresh and delicious over several days or even weeks if frozen correctly. So gather your favorite ingredients today and create your own batch of no bake energy balls!
Print
Easy No Bake Protein Balls Recipe
- Total Time: 10 minutes
- Yield: Approximately 12 servings
Description
Protein Balls (No Bake Energy Balls) are the perfect on-the-go snack that’s both nutritious and satisfying. Made with wholesome ingredients like oats, nut butter, and honey, these energy-packed bites are easy to whip up in just minutes. Whether you need a pre-workout boost or a midday pick-me-up, these no-bake treats deliver delicious flavor and essential nutrients without any complicated cooking. Customize your protein balls by adding chocolate chips, dried fruits, or seeds for an extra touch. With minimal prep and maximum taste, they’re sure to become a staple in your healthy snacking routine!
Ingredients
– Rolled oats
– Nut butter (peanut, almond, or cashew)
– Honey or maple syrup
– Chia seeds
– Dark chocolate chips (optional)
Instructions
1. Gather all ingredients.
2. In a large bowl, mix rolled oats, chia seeds, and chocolate chips.
3. Add nut butter and honey/maple syrup; stir until well combined.
4. Roll the mixture into one-inch balls using your hands.
5. Place on a parchment-lined baking sheet and refrigerate for at least one hour before serving.
Notes
– Experiment with different nut butters or add-ins like coconut flakes for variety.
– Store in an airtight container in the fridge for up to two weeks.
- Prep Time: 10 minutes
Nutrition
- Calories: 120
- Fat: 6g
- Carbohydrates: 15g
- Fiber: 2g
- Protein: 4g